
My good friend Francis Simsim of Wheninmanila.com knew that I needed an IP cam for my baby boy. Being the awesome guy that he is, he made sure to send me a Fukuda FCM829-1FMS IP cam in exchange for my take on it.
So here’s my unboxing of the Fukuda IP cam.
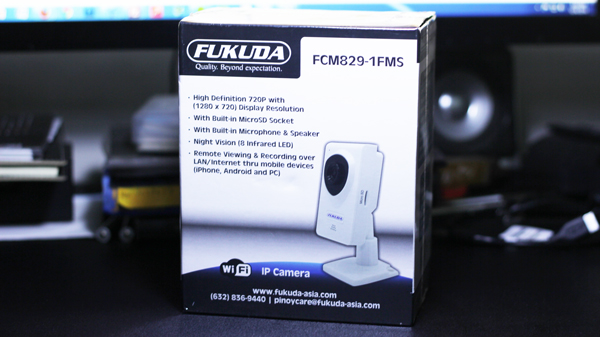
The box is no taller than your average hard cover book. Nothing too special about the box either – just some specs of what to expect from the IP cam.
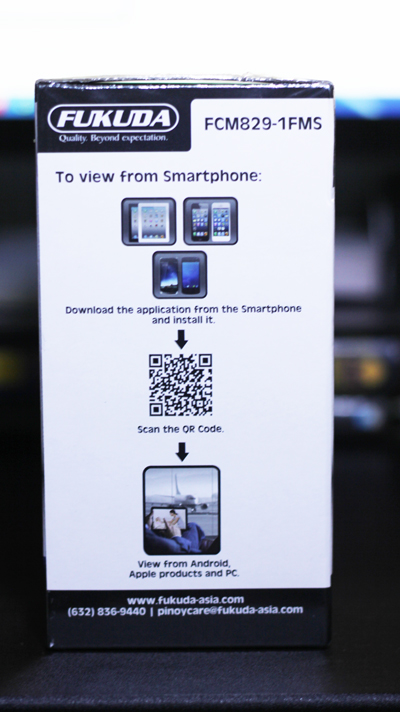
Here’s a closer look at it.

Specs are pretty straightforward.

Viewable from smartphones of course. I don’t think it would make sense for me if it wasn’t. We need it to monitor our baby of course.
The box contains a user manual, warranty description, an installation CD, lan cable, wire and adapter, the camera itself and its supposed stand.
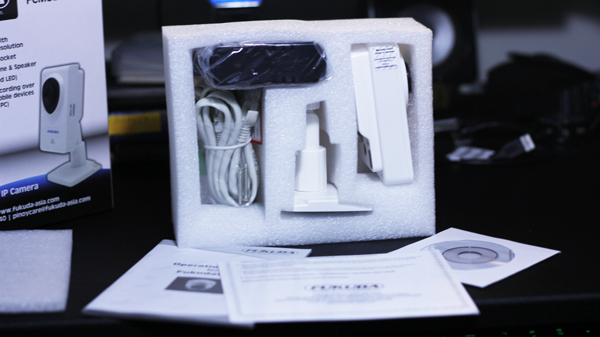
Here’s a closer look.
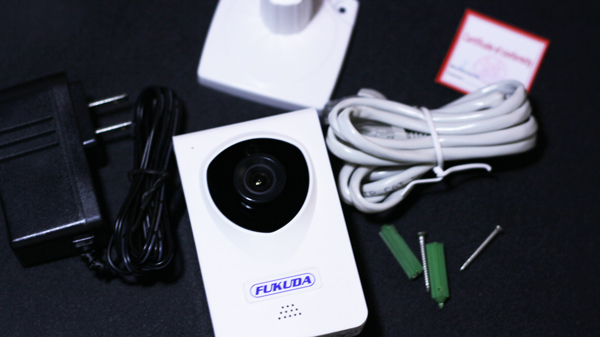
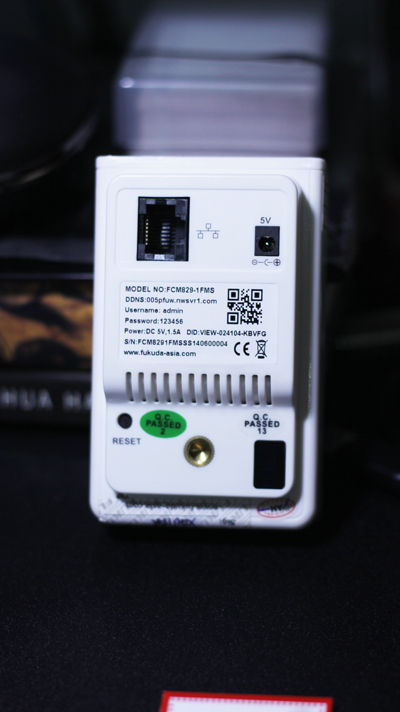
What the back of the IP cam looks like. Basically, you’ll need the lan cable because you’ll need to connect it straight to your PC for some configurations. In my case, I changed the username and password.
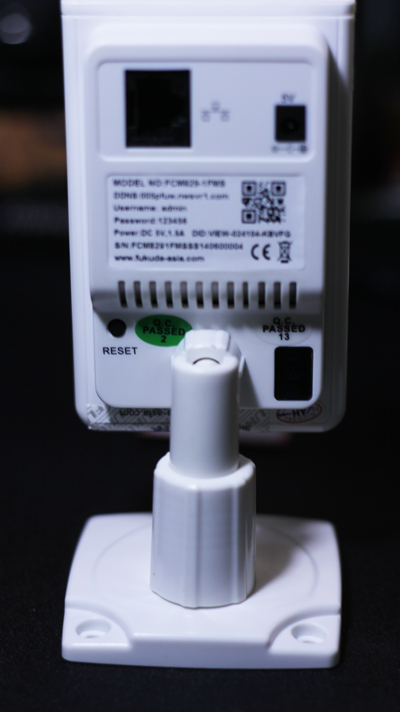
I connected the ball-socketed stand to the back of the IP cam. Works perfectly fine.
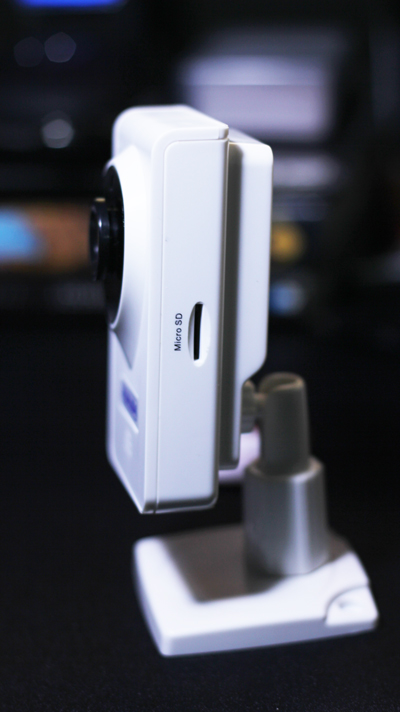
It comes with a micro SD socket if you need to record the day’s happenings.
What I really like about the Fukuda IP cam is that it’s super easy to install. Given I had some difficulties because of PLDT’s low-grade fibr modem-router.
The Fukuda IP cam does not play well at all with PLDT’s fibr modem-router. In fact, because of PLDTs low-grade modem-router, I had to spend around 3 hours to figure out how to get it running. Since pretty much all PLDT services come with a modem-router, I assume this may be the case with most PLDT users now.
So here’s what I did to help you out:
I figured out how to get into the admin settings of the modem-router and switched it to a bridge.
You’d have to login using these credentials:
Username: adminpldt
Password: 1234567890
Then go to network -> internet settings and switch the connection type to Bridge as in the picture below:
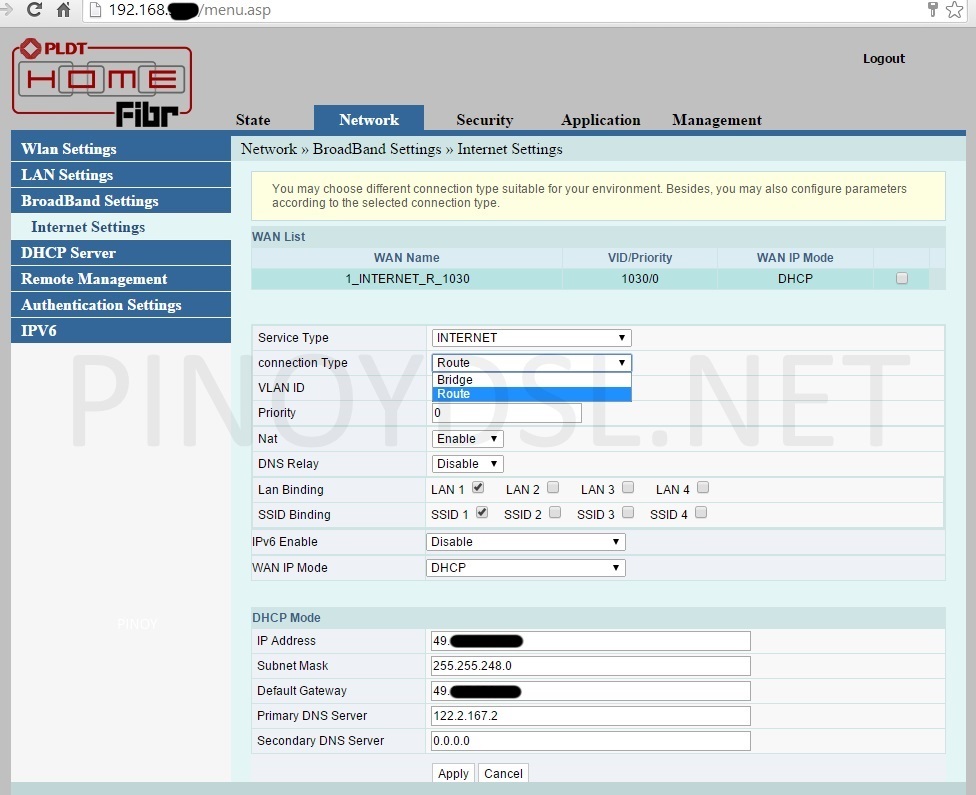 Image credits: pinoydsl.net
Of course, you’d have to use your own router after that. So I connected an ASUS router to my PLDT fibr modem-router to act as my router. After I did that, the IP cam worked perfectly fine.
The video quality of the Fukuda IP cam is fair considering that it’s an easy-setup IP cam. Because of night-vision infrared technology, it’s able to still monitor our baby even if the lights are out.
In all, it’s really just what me and my wife needs.
Price: 4,500 php
You could download Fukuda IP cam’s full specs and other IP cam products here.
If you’re happy or if you’re having problems with the Fukuda IP cam, please leave a comment below.